Deploy a NEXT.js App 13 on AWS with SST
What You’ll Learn
In this tutorial, you’ll learn how to deploy a Next.js application on AWS using the SST framework. As a bonus, we’ll also cover deploying your website on your own domain name using SST.
Why Choose Next.js and SST?
Next.js has gained significant popularity due to its ability to build static and server-side rendered applications with enhanced speed and SEO benefits. Traditionally, deploying Next.js apps involved choosing between running your own server (high entry cost and complexity) or using Vercel (easy but with less control).
SST, built on the AWS CDK, offers an alternative solution. It integrates with OpenNext, enabling serverless deployment of Next.js apps on your AWS account. This approach combines the best of both worlds: serverless benefits, control over infrastructure, and cost efficiency.
Deploy a Next.js App on AWS in 2 Simple Steps
Ensure you have Node.js 16+ (Node 18 recommended) installed on your machine.
- Create a new Next.js app:
npx create-next-app@latest my-app
During installation, choose TypeScript as SST is tailored for TypeScript.
- Navigate to the app’s directory and install SST:
cd my-app
npx create-sst@latest
npm install
When prompted, choose “Drop-in mode” to let SST automatically configure the project for Next.js.
You’re almost done! Deploy your Next.js app on AWS:
npx sst deploy
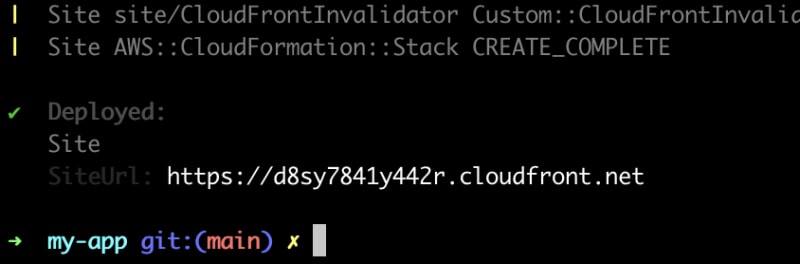
Once the deployment finishes, the public URL of your app will be provided. Open the link in your browser to see your website live.
Config Domain Name
Note: This step requires buying a domain name and is no longer free.
You can use AWS Route 53 or another domain name provider to purchase a domain name.
SST, based on the AWS CDK, enables you to integrate various AWS resources into your Next.js project. We’ll use AWS Route 53 and Amazon Certificate Manager to deploy the site to your domain.
- Update your sst.config.ts file:
// File: sst.config.ts

import { SSTConfig } from "sst";
import { NextjsSite } from "sst/constructs";
import * as cdk from "aws-cdk-lib";

const ROOT_DOMAIN_NAME = "your-domain-name"; // Your domain name here
const DOMAIN_NAME = `sst.${ROOT_DOMAIN_NAME}`; // Prefix or root domain

export default {
  config(_input) {
    return {
      name: "my-app",
      region: "us-east-1",
    };
  },
  stacks(app) {
    app.stack(function Site({ stack }) {
      const hostedZone = new cdk.aws_route53.HostedZone(stack, "HostedZone", {
        zoneName: ROOT_DOMAIN_NAME,
      });

      const certificate = new cdk.aws_certificatemanager.Certificate(stack, "Certificate", {
        domainName: DOMAIN_NAME,
        validation: cdk.aws_certificatemanager.CertificateValidation.fromDns(hostedZone),
      });

      const site = new NextjsSite(stack, "site", {
        customDomain: {
          domainName: DOMAIN_NAME,
          cdk: {
            hostedZone,
            certificate,
          },
        },
      });

      stack.addOutputs({
        SiteUrl: site.url,
      });
    });
  },
} satisfies SSTConfig;
Replace “your-domain-name” and configure other parameters as needed.
npx sst deploy
During deployment, copy the 4 values from the NS record in the new hosted zone to your domain name provider.
After this step, your website will be deployed on your own domain name!
Conclusion
This tutorial is just the beginning of your journey with SST and AWS. You can further integrate resources like S3 Buckets, DynamoDB tables, or Lambda functions into your Next.js app. SST’s documentation and the SST tutorial are excellent resources for diving deeper.